
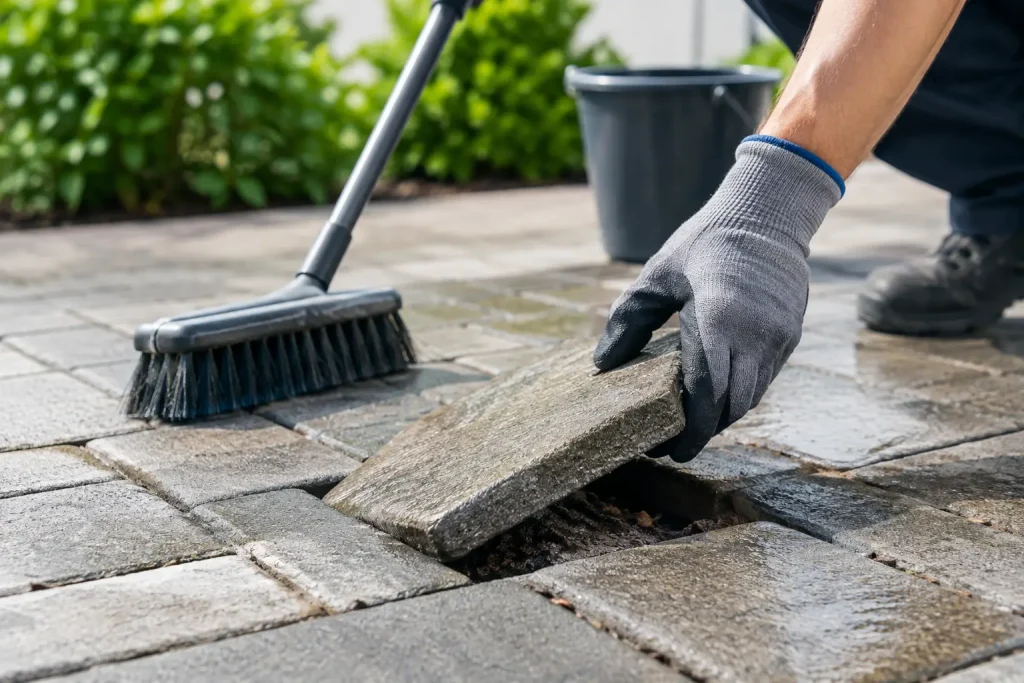
A patio or walkway can look dirty long before it looks damaged. But when individual blocks start sitting higher than the pavers around them, cleaning requires more care. Knowing how to clean lifting pavers means recognizing that pressure washing can improve the surface without correcting the cause of the lifting. Done carelessly, it can also wash out joint sand, undermine the base, and make an uneven area worse.
For Southern California property owners, pavers commonly collect dust, irrigation runoff, algae, pet stains, leaf tannins, oil drips, and windblown soil. At the same time, roots, settling soil, poor drainage, and failed edge restraints can cause sections to shift or rise. The right approach is maintenance first: clean the pavers gently, inspect the movement, and arrange repairs when the surface creates a trip hazard or drainage issue.
First, Determine Why the Pavers Are Lifting
Not every uneven paver needs a full patio rebuild. A single raised paver may have shifted because of a root, a pocket of compacted debris, or an edge that has begun to spread. Several lifted pavers in the same area can point to a more substantial base, drainage, or root problem.
Walk the area before bringing out a hose or pressure washer. Look for cracked pavers, loose pieces, missing joint sand, open edges, standing water, and low spots. Pay close attention to pavers that rock underfoot. If the movement is minor, cleaning may be appropriate before resetting the affected pieces. If pavers are significantly heaved, especially near a mature tree, wall, pool deck, or building entry, cleaning should wait until a qualified paver or landscape professional assesses the cause.
A lifted edge is more than a cosmetic concern. It can catch a shoe, cart, stroller, or wheelchair wheel. For HOAs, retail centers, and commercial properties, that makes prompt evaluation part of good site maintenance.
How to Clean Lifting Pavers Safely
Begin by removing furniture, planters, mats, and loose debris. Sweep thoroughly with a stiff broom, working soil and leaves out of the joints without aggressively digging into them. This simple step reveals stains and lets you see which pavers are loose before water is introduced.
Pre-treat spots based on what caused them. A mild, paver-safe cleaner may handle general grime, while a degreaser formulated for masonry is better for oil marks. Organic buildup such as mildew or algae may require a surface-appropriate treatment. Always follow the product directions, test a small inconspicuous area first, and keep cleaners away from sensitive plants.
Use low pressure and a wide fan tip if pressure washing is necessary. Keep the spray moving, maintain a safe distance, and direct water across the face of the pavers rather than straight into the joints. A narrow, concentrated stream can carve channels through joint sand or force water beneath unstable pavers. That is especially risky when sections are already lifting.
For light dirt, a garden hose, cleaning solution, and deck brush may be the better choice. It takes more manual effort, but it gives you control around loose or uneven pieces. Heavily soiled commercial walkways may need professional equipment, yet the same principle applies: match the cleaning method to the surface condition instead of using maximum pressure everywhere.
Rinse in controlled sections so dirty water does not run across lawns, storm drains, or neighboring property. In coastal communities, runoff handling matters. Oil, cleaning chemicals, sediment, and organic buildup should not be pushed into waterways simply because a hardscape is being cleaned.
Avoid These Common Mistakes
The biggest mistake is treating lifted pavers like solid concrete. Pavers are an interlocking system. Their performance depends on a stable base, intact edge restraints, and properly filled joints. High pressure can remove the sand that helps hold the system together.
Avoid directing water underneath raised edges. Do not use a zero-degree tip, and do not linger over the same joint to chase a stain. Skip harsh acids or bleach mixtures unless they are specifically appropriate for the paver material and are being handled with proper protection and runoff control. Strong chemicals can discolor concrete pavers, damage nearby landscaping, and create unnecessary environmental risk.
It is also tempting to fill a raised edge with extra sand and call the problem solved. Sand can improve the appearance of a joint, but it will not correct a paver that is being pushed upward by roots or a failing base. If a section continues to move, it needs to be lifted, repaired beneath, and reset at the proper grade.
Clean First or Repair First? It Depends
When pavers are only slightly uneven and still stable, cleaning first can make sense. Removing dirt and weeds helps identify the true condition of the paver field, makes reset work cleaner, and lets you see whether staining is hiding cracks or surface wear.
Repair first when pavers are loose, sharply raised, cracked, or visibly separated from their edge restraint. The same applies when water pools around the lifted section. Washing an unstable area may push more water and sediment into the compromised base.
For an oil-stained driveway with a few settled or raised pavers, a staged approach often works best. Treat the oil, clean the broader surface carefully, repair the unstable section, then replenish joint sand after the area has dried. If sealing is planned, wait until repairs are complete and moisture has fully left the pavers.
Refill Joint Sand After Cleaning
Pressure washing, even at a conservative setting, can remove some material from the joints. Once the pavers are clean and completely dry, inspect those joints. They should be evenly filled, with no deep gaps where water, weeds, or ants can enter.
Use the sand recommended for the paver system, often polymeric sand for suitable installations. Sweep it into dry joints according to the manufacturer’s instructions, clear all residue from the paver faces, and activate it only as directed. Too much water during activation can wash material out or leave a hazy film.
This step supports the interlock between pavers, but it is maintenance, not structural repair. If the pavers still rock or sit at different heights after cleaning and sanding, the problem is below the surface.
When Professional Cleaning Is the Safer Choice
Professional help is worth considering when stains cover a large area, the property has drainage restrictions, or pavers are close to landscaping, pool equipment, storefront entries, or painted surfaces. It is particularly useful for HOAs and commercial operators responsible for long walkways, common areas, parking-adjacent hardscape, and high-traffic entrances.
A qualified exterior-cleaning team should evaluate the condition before choosing pressure, cleaning agents, and tools. Delicate surfaces and unstable pavers call for controlled methods, not a one-setting-fits-all approach. Ask how runoff will be managed, particularly where oil, tire marks, algae, or cleaning products are involved.
Channel Islands Pressure Washing uses surface-specific cleaning methods and closed-loop water recovery to capture contaminated runoff rather than allowing it to enter storm drains. That approach helps protect your property, nearby landscaping, and local waterways while restoring the clean, cared-for appearance that makes outdoor areas more inviting.
Keep Pavers From Getting Worse Between Cleanings
Routine sweeping keeps abrasive sand and decomposing leaves from settling into joints. Address irrigation overspray, leaking downspouts, and drainage problems early, since repeated water movement can erode the base under pavers. Trim roots only with appropriate professional guidance, especially around established trees where improper cutting can damage the tree or create more movement later.
A periodic inspection after heavy rain, landscaping work, or nearby construction can catch shifting before it becomes a broad repair. Maintain it, don’t replace it: a careful cleaning plan and timely reset of a few problem pavers can often preserve an entire patio, walkway, or driveway for years.
If a lifted area is becoming harder to walk across, do not let a clean surface hide an underlying hazard. Treat the stain, protect the joints, and give the pavers the repair attention they need before the next busy season.