
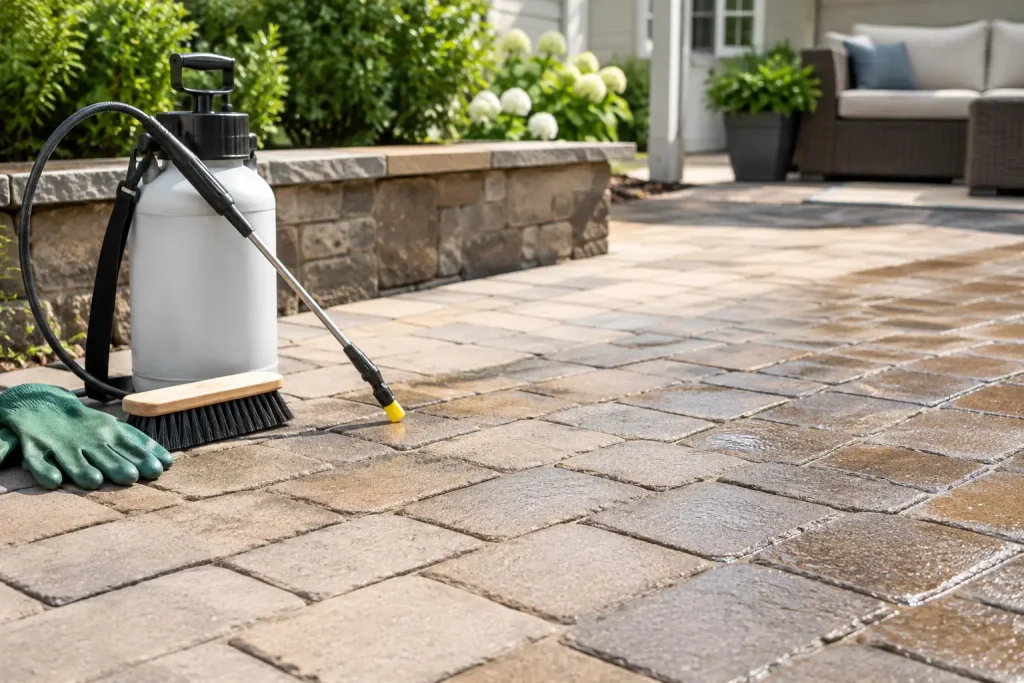
A paver patio, driveway, or walkway can look like a major upgrade one season and tired the next if oil, algae, weeds, and shifting joints are allowed to build up. The best ways to protect pavers are not complicated, but they do require the right order: clean the surface safely, correct the joints and drainage, then protect it with appropriate sealing and routine care.
For homes, HOAs, and commercial properties in Southern California, pavers face a particular mix of challenges. Coastal moisture can encourage algae growth, hot sun can fade color, and wind carries dirt into the joints. High-traffic areas add tire marks, food spills, pet stains, and oil leaks. A maintenance-first approach costs far less than pulling up and replacing a large paver area later.
Start With Surface-Safe Paver Cleaning
Cleaning is the foundation of paver protection. Sealer applied over embedded dirt, algae, or stains can lock in the problem and leave the surface looking uneven. It may also prevent new joint sand from bonding properly.
Pressure washing can be effective, but more pressure is not automatically better. Aggressive cleaning can scar softer pavers, blow out too much joint sand, chip edges, or force dirty runoff toward landscaping and storm drains. The correct method depends on the paver material, its condition, the type of staining, and the stability of the joints.
A professional cleaning process typically begins with a close inspection. Oil spots need different treatment than black algae, rust, tire marks, or efflorescence, the white mineral residue that can appear on masonry. Targeted pretreatment gives the stain time to break down before cleaning, which reduces the temptation to use damaging pressure.
For larger properties, runoff deserves just as much attention as the visible result. Dirty wash water can carry sediment, oils, cleaning residues, and contaminants into nearby drains. A closed-loop water recovery process captures that runoff instead of sending it into waterways. This is especially valuable for shopping centers, HOA common areas, and properties near coastal drainage systems.
Protect Pavers With Strong, Stable Joints
The material between pavers is not just filler. Joint sand helps lock units together, reduces movement, discourages weeds, and supports the surface under foot and vehicle traffic. When joints wash out, pavers can begin shifting, rocking, or separating.
After a thorough cleaning, joints should be assessed and refilled where needed. Polymer-modified joint sand is often a practical choice because it hardens when activated with water while retaining enough flexibility for normal movement. It can reduce weed growth and insect activity compared with ordinary loose sand.
It is not a cure for an underlying installation problem, though. If pavers are sinking, spreading apart, or holding standing water, adding more sand alone will not solve it. Those signs can point to failed edge restraints, base problems, poor compaction, or drainage issues beneath the surface. Address those conditions before resealing so money is not spent protecting a surface that still needs repair.
Choose the Right Sealer for the Paver and the Goal
Sealing is one of the best ways to protect pavers, but only when the surface is fully clean, dry, and structurally sound. A quality sealer can help resist water absorption, food and oil staining, UV fading, and dirt buildup. It can also make regular maintenance easier because contaminants are less likely to settle deep into the paver pores.
The finish matters. Some sealers leave a natural, low-sheen appearance, while others deepen the color for a wet-look effect. A glossy finish can be attractive on a decorative patio, but it may not be the best fit for a busy walkway, pool deck, or commercial entry where slip resistance is a priority.
There is also a trade-off between appearance and maintenance. Wet-look or high-gloss products can highlight color beautifully, but uneven application, trapped moisture, or excessive product can create a blotchy finish. Penetrating sealers tend to preserve a more natural appearance and may be the better choice when subtle protection is the goal.
Do not seal pavers simply because a calendar says it is time. Resealing frequency depends on sun exposure, foot and vehicle traffic, the original product, cleaning methods, and the paver’s porosity. Rather than guessing, watch for signs that water is soaking in quickly, stains are becoming harder to remove, or the finish has visibly worn away.
Avoid the Most Common Sealing Mistakes
The fastest way to create a disappointing result is to apply sealer over a damp surface or while moisture is trapped below the pavers. This can turn a clear finish cloudy or cause whitening. Allow adequate drying time after washing, particularly in shaded locations, near planters, or after humid coastal weather.
Applying too much product is another frequent issue. More sealer does not mean more protection. Heavy coats can leave a slick or hazy surface and may peel over time. Proper preparation, compatible materials, and controlled application matter far more than a thick coat.
Keep Water Moving Away From the Paver Area
Standing water is hard on pavers and the base beneath them. It encourages algae, leaves mineral deposits, softens surrounding soil, and can contribute to settling. If puddles remain well after rain or irrigation, treat that as a maintenance signal rather than a cosmetic inconvenience.
Check that downspouts, sprinkler heads, and landscape grading are not constantly feeding water onto the surface. Sprinklers that spray a driveway or patio every morning can leave hard-water marks and encourage organic growth. Redirecting runoff or adjusting irrigation can significantly reduce cleaning needs.
For commercial walkways and HOA common areas, drainage affects safety as well as appearance. Slick algae in shaded zones, pooling at entrances, and water crossing pedestrian paths deserve prompt attention. Keeping the surface clean and dry helps protect visitors while preserving a more professional-looking property.
Remove Spills Before They Become Permanent Stains
Pavers are porous, especially when unsealed, so a fresh spill is much easier to address than an old one. Blot cooking grease, drink spills, fertilizer residue, or automotive fluid promptly. Avoid scrubbing oil deeper into the surface with a wire brush or rinsing it directly toward a storm drain.
Oil stains often need a dedicated treatment rather than plain water and detergent. Older stains may require repeat applications because oil can travel below the visible surface. The goal is to draw contaminants out of the paver safely, not bleach the surrounding area or damage nearby landscaping.
Keep leaves, soil, and mulch off pavers as much as possible. Organic debris holds moisture and can stain the surface while feeding mold and algae growth. A quick sweep is simple, but it makes a noticeable difference in shaded patios, walkway edges, and around planters.
Use a Realistic Maintenance Schedule
Paver protection works best as regular care rather than a one-time restoration. Sweep high-use areas weekly or as needed, especially near trees, grills, parking spaces, and entryways. Check for new stains, loose pavers, joint-sand loss, or persistent damp areas each month.
Plan a more thorough inspection after heavy rains and before hosting a large event, opening a seasonal commercial space, or preparing a property for sale. For most properties, professional cleaning every year or two is a practical starting point. Heavily shaded patios, busy retail sidewalks, restaurant areas, and oil-prone driveways may need more frequent attention.
HOAs and property managers benefit from setting a recurring exterior-maintenance plan rather than waiting for complaints or visible deterioration. Consistent care keeps common areas welcoming, helps prevent trip hazards, and makes the cost of maintenance more predictable.
When Professional Paver Restoration Makes Sense
Call for a professional assessment when stains have resisted household cleaning, algae returns quickly, joint sand is missing across a large area, or pavers are uneven. A trained team can identify whether the issue calls for controlled pressure washing, specialty stain treatment, joint-sand replacement, sealing, or repair before cleaning begins.
Channel Islands Pressure Washing approaches paver cleaning and restoration with the same principle used across exterior maintenance: maintain it, don’t replace it. Surface-specific methods, careful finishing work, and recovered-water practices help restore the pavers without treating runoff or surrounding landscaping as an afterthought.
A clean paver surface should still look like paver, not a shiny coating hiding unresolved problems. Give it regular attention, address water and stains early, and it can continue adding safe, durable curb appeal to your property for years.