
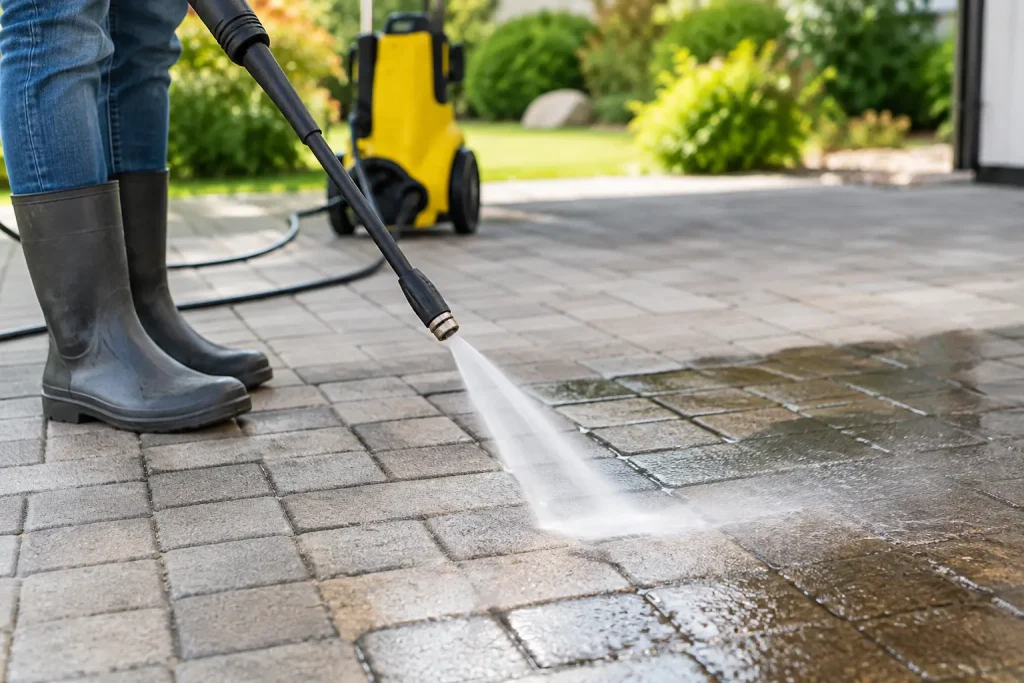
A paver patio, driveway, or walkway can look worn out long before the material has reached the end of its life. Dark mildew, tracked-in dirt, oil spots, and weeds between joints often make homeowners think replacement is the only option. Knowing how to clean pavers safely can restore the surface without etching the material, washing away joint sand, or sending dirty runoff toward storm drains.
The right approach depends on the paver type, the stain, the condition of the joints, and where the water will go. A light cleaning on a well-maintained patio is very different from treating a commercial walkway with gum, grease, algae, and heavy foot traffic. The goal is not simply to make pavers look brighter for a day. It is to clean them carefully enough that they continue protecting your property for years.
How to Clean Pavers Safely, Step by Step
Start by identifying what is actually on the surface. Loose dust and coastal grime need a different treatment than algae, rust, pet stains, cooking grease, or vehicle oil. Applying a strong cleaner before you know the problem can discolor some pavers, weaken surrounding plants, and create unnecessary runoff.
First, clear furniture, planters, toys, and loose debris from the area. Sweep thoroughly, especially along edges and in joints where leaves and soil collect. If weeds are growing between pavers, remove them by hand or treat them with a paver-safe method before washing. Pressure washing alone may remove the visible growth without addressing the roots.
Next, protect nearby landscaping and surfaces. Cover sensitive plants when appropriate, move outdoor cushions and décor, and pre-wet plants that cannot be moved. Avoid allowing cleaning solutions to reach pools, ponds, storm drains, or neighboring properties. In Southern California, runoff control matters. Water carrying dirt, oil, detergent, and organic buildup should not be allowed to flow into the street or waterway.
For routine dirt, begin with the gentlest option: a garden hose, a stiff non-metal brush, and a paver-appropriate cleaner. Work in manageable sections and rinse as you go. This gives you a clear view of which spots need more attention and reduces the temptation to use more pressure than the surface can handle.
Use Pressure Carefully, Not Aggressively
Pressure washing can be effective, but it is also where many paver-cleaning mistakes happen. A narrow spray tip held too close can leave visible lines, roughen the surface, chip edges, and blast joint sand out of place. The damage may not show until the area dries.
Use a wide fan tip and keep the wand moving at a consistent distance. Start with lower pressure in an inconspicuous area, then increase only if needed. Keep the spray at an angle rather than aiming directly into the joints. If you see sand washing away, stop and adjust your distance, pressure, or technique.
Concrete pavers are generally more durable than natural stone, but even concrete can be damaged by overly aggressive equipment. Clay brick pavers may be more prone to chipping, while softer stone can be etched by acidic products or high pressure. If you are unsure what material you have, treat it as delicate until a professional confirms the safest method.
A surface cleaner attachment can produce a more even result on broad patios and driveways than a pressure-washer wand. It reduces striping and helps contain overspray, but it still must be operated at the right pressure. Equipment does not replace good judgment.
Treat Stains Based on the Cause
Stains are not all cleaned the same way. Using a one-size-fits-all degreaser or bleach mixture may create a bigger problem than the original mark.
Oil spots usually respond best to an absorbent treatment and a purpose-made degreaser. Fresh spills are easier to address, so cover them with an absorbent material as soon as possible, then sweep it up before treating the remaining stain. Older oil spots may require repeated treatment. Avoid flooding the area with chemicals, particularly on a driveway where the runoff can reach the curb.
Mildew and algae often appear in shaded areas, along irrigation lines, or where damp leaves stay on the surface. A properly diluted cleaning solution can help remove organic growth, but it should be selected for the paver material and used according to its directions. Never assume a stronger mixture will give a better result. It can fade color, harm plants, and leave residues behind.
Rust stains, hard-water deposits, and efflorescence require special care. These stains may need a product designed specifically for mineral or rust removal. Acidic cleaners can permanently change the appearance of some pavers and natural stone, so test a hidden area first. When a stain has been sitting for years, professional assessment is often less costly than trial-and-error cleaning.
For food, beverage, pet, and barbecue stains, start with a mild paver-safe cleaner and brushing. Avoid wire brushes, which can scratch the surface and leave metal particles that later rust. Rinse thoroughly while managing the wastewater responsibly.
Protect the Sand Between the Pavers
Joint sand does more than fill gaps. It helps lock pavers in position, limits shifting, and discourages weed growth when properly installed. Losing too much sand during cleaning can leave pavers loose or uneven and create places for water to collect.
After washing, allow the surface to dry completely. Inspect the joints for low areas and refill them with the correct jointing sand if needed. Polymeric sand can be useful in many installations because it hardens after activation and helps resist weeds and insects, but it must be installed carefully. Excess sand left on paver faces before watering can leave a haze that is difficult to remove.
Do not seal pavers immediately after cleaning. The surface and joints need adequate drying time, and the ideal window depends on weather, paver type, and the sealer being used. Sealing a damp surface can trap moisture and produce an uneven finish. A sealer can help protect against stains and fading, but it is not a substitute for proper cleaning or drainage.
Know When DIY Cleaning Is Not the Safe Choice
There is no shame in calling for help when the job involves more than ordinary patio dirt. Professional cleaning is often the safer route for large driveways, HOA common areas, commercial walkways, heavily stained pool decks, or pavers near drainage systems and landscaping.
It is also wise to bring in a trained team when pavers are loose, cracked, sinking, or showing white haze that does not respond to gentle cleaning. Those conditions may point to drainage, installation, or joint-sand problems that pressure alone cannot solve. Cleaning harder can make structural issues worse.
For commercial properties, runoff handling is especially important. Parking-area oil, tire marks, food residue, and other contaminants should be captured rather than washed toward a drain. Channel Islands Pressure Washing uses surface-specific methods and closed-loop water recovery to capture contaminated water while cleaning. That approach helps property owners maintain a cleaner site without treating the gutter as a disposal system.
Keep Pavers Cleaner Between Services
The easiest way to protect pavers is to prevent buildup from becoming embedded. Sweep regularly, clean spills promptly, trim plants that hold moisture over patios, and make sure sprinklers are not constantly soaking walkways or walls. Address drainage issues early, especially where puddles form after irrigation or rain.
For homes, a seasonal inspection is usually enough to catch small concerns before they turn into stubborn stains. High-traffic retail centers, condominium common areas, and restaurant-adjacent walkways may need more frequent attention because appearance and slip hazards affect visitors every day.
Maintain it, don’t replace it. With a measured cleaning method, proper joint care, and responsible runoff management, pavers can keep delivering the clean, finished appearance your property deserves.
Pingback: Paver Cleaning Versus Replacement for Your Patio – Channel Islands Pressure Washing, LLC
Pingback: Hard Water Stain Guide for Outdoor Surfaces – Channel Islands Pressure Washing, LLC
Pingback: Apartment Courtyard Cleaning Case Study Results – Channel Islands Pressure Washing, LLC
Pingback: Exterior Maintenance That Protects Property – Channel Islands Pressure Washing, LLC
Pingback: Best Ways to Protect Pavers and Keep Them Clean – Channel Islands Pressure Washing, LLC