
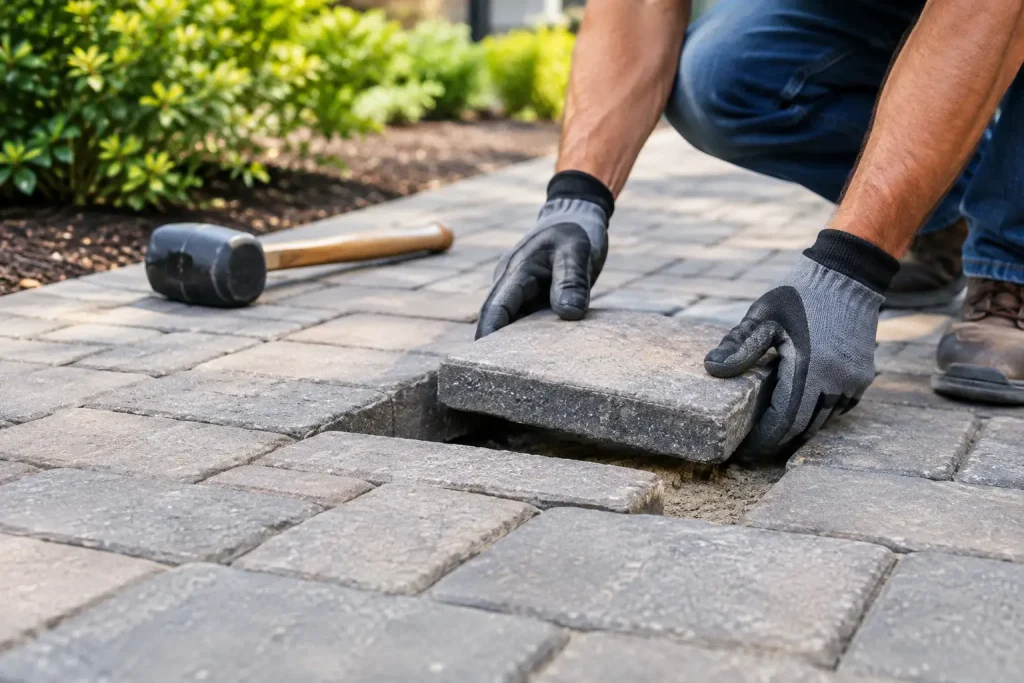
A single raised paver can turn a clean-looking walkway into a trip hazard, especially near an entry, pool deck, or busy commercial storefront. This paver lifting repair guide helps property owners identify why pavers move, determine whether a simple reset is enough, and protect the repaired surface from the moisture, debris, and neglect that often lead to repeat problems.
Paver lifting is rarely just a cosmetic issue. In Southern California, dry periods, heavy seasonal rain, irrigation leaks, tree roots, and shifting soil can all affect the base beneath a patio, driveway, or walkway. The visible high spot is the symptom. A lasting repair starts with finding the reason it moved.
What Causes Pavers to Lift?
Pavers are designed to flex slightly as the ground changes, which is one reason they are often easier to repair than poured concrete. But they still depend on a level, compacted base and stable edge restraints. When either one fails, individual pavers can rise, rock, spread apart, or settle unevenly.
The most common cause is moisture beneath the surface. A broken sprinkler line, poor grading, roof runoff, or water pooling along an edge can soften and wash away base material. Once that support is gone, pavers shift under foot traffic or vehicle weight. Soil expansion and contraction can create similar movement, particularly where water reaches one side of the paved area more often than the other.
Roots are another frequent culprit. A mature tree can lift pavers gradually as roots grow outward near the surface. Cutting roots without understanding the tree’s condition can create a larger problem, so it is wise to involve a qualified tree professional when major roots are present.
Other causes include inadequate base depth, poorly compacted sand, failing plastic or metal edging, and years of accumulated debris in the joints. On driveways, the base requirements are greater than they are for a garden path. A repair that works for a light-use patio may not hold up under a vehicle.
Paver Lifting Repair Guide: Start With an Inspection
Before removing any pavers, inspect the full area rather than focusing only on the highest piece. Walk the surface and look for rocking pavers, open joints, low spots, cracked edging, and areas where water collects after irrigation or rain. Check nearby downspouts, planters, hose bibs, and sprinkler heads for signs of ongoing water exposure.
Mark the affected area generously. The pavers immediately around a lifted section may also be out of level, even if the problem is not obvious from a distance. Resetting one paver while leaving a weak base beside it can produce a short-lived fix.
It also helps to determine whether the surface is safe to use until repair. A small, stable lip in a low-traffic patio may be manageable for a short time. A raised paver at a front entrance, common walkway, retail center, or HOA path deserves prompt attention. Trip hazards can lead to injuries, complaints, and avoidable liability.
How a Proper Paver Reset Works
For a localized issue with no active leak or root conflict, the repair process is straightforward but detail-sensitive. The goal is not to force the paver down. It is to rebuild a flat, supported section that drains correctly.
First, remove joint sand around the affected pavers and lift them carefully with appropriate hand tools. Set the pavers aside in their original layout so color variations and patterns remain consistent during reinstallation. If a paver is cracked or badly chipped, replace it with a matching unit rather than reinstalling damaged material.
Next, excavate the bedding sand and inspect the compacted base below. Remove soft, contaminated, or washed-out material. If water has created a void, the underlying drainage issue must be corrected before new base is installed. Adding sand on top of a wet, unstable base may level the paver temporarily, but it will not solve the cause.
Rebuild the base in thin layers using suitable aggregate, compacting each layer as required for the application. A patio repair may need only a limited correction, while a driveway section can require deeper excavation and more substantial compaction. Restore the bedding layer, screed it level, and reinstall the pavers so they sit flush with the surrounding surface.
Once the pavers are in place, compact the repaired section as appropriate for the paver type and area. Sweep joint sand into the gaps and repeat until the joints are properly filled. If polymeric sand is selected, follow its installation requirements closely. It can help resist washout and weed growth, but it must be used on a clean, dry surface with the right joint conditions. Excess material left on paver faces can leave a stubborn haze after activation.
When a Simple Repair Is Not Enough
Some lifting problems point to a broader installation or drainage failure. If multiple areas are heaving, the surface slopes toward a building, pavers are spreading at the perimeter, or standing water returns after every rain, a spot repair alone may not be the right investment.
Large root-related movement also requires a careful decision. Removing a few pavers around a root may restore a walking surface, but the root will continue growing. Depending on the location, the long-term answer may involve rerouting the path, adjusting the landscape plan, or redesigning that section of hardscape.
For commercial properties and HOAs, documenting the condition before repairs can be helpful. Photos of the raised areas, drainage patterns, and completed work create a useful maintenance record, particularly for common areas where safety concerns need to be addressed promptly.
Clean Pavers Only After the Structural Work Is Complete
Cleaning a lifted paver surface before correcting the base can make the problem look better without making it safer. Repair comes first. After the pavers are stable and joint material has properly set, cleaning can remove embedded dirt, algae, tire marks, leaf tannins, and other buildup that obscures the finished result.
The cleaning method matters. High pressure applied too closely can blow out joint sand, scar soft pavers, and disturb an already vulnerable surface. Professional paver cleaning uses surface-appropriate pressure, targeted treatments where needed, and deliberate rinsing to protect the joints and surrounding landscape.
Runoff deserves the same attention. Dirty wash water can carry sediment, oil residue, cleaning products, and organic contaminants toward storm drains. Channel Islands Pressure Washing uses closed-loop water recovery practices when conditions call for it, helping keep contaminated runoff out of local waterways while restoring exterior surfaces responsibly.
Preventing Pavers From Lifting Again
The best prevention is controlling water and maintaining the joints. Keep gutters clear so roof runoff does not pour onto patios and walkways. Adjust sprinklers that spray directly onto paved edges, and repair irrigation leaks quickly. Make sure planters and landscape beds do not trap water against the paver border.
Inspect edge restraints periodically, especially along driveways and curved walkways. When edging loosens, the entire field of pavers can begin to spread. Replenish joint sand when it has washed out or thinned, and remove moss, weeds, and packed debris before they create room for movement.
Routine cleaning also plays a practical role. It makes drainage paths, cracked pavers, failing joints, and early staining easier to see. Maintain it, don’t replace it: a small repair and thoughtful maintenance plan can often preserve a paver installation for years while avoiding the cost and disruption of full replacement.
If a raised area is becoming a safety concern, do not wait for it to become a larger failure. Address the underlying water, base, edging, or root issue first, then restore the pavers and keep the finished surface clean enough to spot changes early.